Ingredients You’ll Need:
- Ground Beef: The main ingredient, seasoned with taco spices for a flavorful punch.
- Taco Seasoning: Store-bought or homemade, it adds the classic taco flavor.
- Cheese: A mix of cheddar and mozzarella creates a melty, cheesy filling.
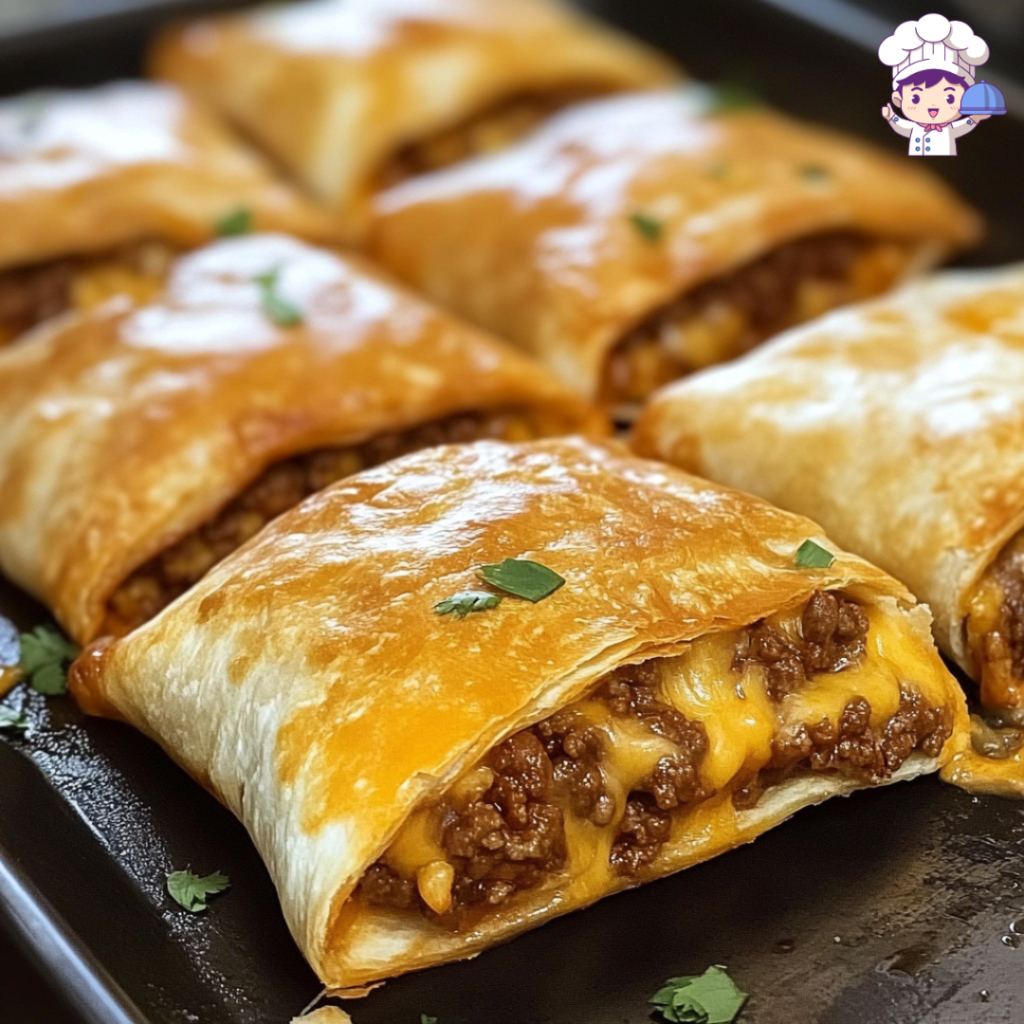
- Crescent Roll Dough: The perfect vessel to encase your taco filling, baking up to a golden, flaky perfection.
- Toppings: Diced tomatoes, shredded lettuce, sour cream, and guacamole for serving.
Step-by-Step Instructions:
- Prepare the Taco Filling:
- Start by browning the ground beef in a skillet over medium heat. Drain any excess fat, then stir in the taco seasoning and a bit of water, allowing the mixture to simmer until thickened and well-coated. Set aside to cool slightly.
- Assemble the Cheesy Pockets:
- Unroll the crescent roll dough and separate it into individual triangles. On each triangle, place a generous spoonful of the taco beef mixture, followed by a sprinkle of cheese. Fold the dough over the filling, pressing the edges together to seal.
- Bake to Perfection:
- Place the stuffed pockets on a baking sheet lined with parchment paper. Bake in a preheated oven at 375°F (190°C) for 12-15 minutes, or until the pockets are golden brown and the cheese is melted and bubbly.
- Serve and Enjoy:
- Serve the Loaded Taco-Stuffed Cheesy Pockets hot out of the oven with your favorite taco toppings. These pockets are great on their own or paired with a side of salsa, sour cream, and guacamole for dipping.
Serving and Storage Tips for Loaded Taco-Stuffed Cheesy Pockets:
Serving Tips:
- Pair with Dips: Enhance the flavor by serving them with a variety of dips like salsa, guacamole, sour cream, and queso dip, which complement the taco flavors perfectly.
- Toppings Bar: Set up a toppings bar with shredded lettuce, diced tomatoes, sliced jalapeños, chopped onions, and cilantro. Let your guests customize their cheesy pockets with their favorite toppings for a fun and interactive dining experience.
- Side Dishes: These cheesy pockets are a meal in themselves, but you can pair them with a light side salad, Mexican rice, or refried beans to round out the meal.
- Serving Size: Depending on the size of your pockets, one to two per person is usually a good serving size. If you’re serving these as an appetizer, one pocket per person should suffice.
- Serve Fresh and Hot: For the best experience, serve the Loaded Taco-Stuffed Cheesy Pockets fresh out of the oven. The pockets will be crisp on the outside and gooey on the inside, providing the ultimate comfort food experience.
- Storage Tips:
- Refrigeration: Store any leftover Loaded Taco-Stuffed Cheesy Pockets in an airtight container in the refrigerator. They will stay fresh for up to 3-4 days.
- Freezing: These pockets freeze well for up to 2-3 months. To freeze, allow them to cool completely, then wrap each pocket individually in plastic wrap or aluminum foil. Place the wrapped pockets in a freezer-safe bag or container, removing as much air as possible before sealing.
- Reheating:
- From the Refrigerator: To reheat from the fridge, place the pockets on a baking sheet and warm them in a preheated oven at 350°F (175°C) for about 10 minutes, or until heated through. You can also reheat them in the microwave for 1-2 minutes, though the crust may not be as crisp.
- From the Freezer: Reheat frozen pockets directly from the freezer by placing them in a preheated oven at 350°F (175°C) for 20-25 minutes. Alternatively, you can thaw them in the refrigerator overnight and then reheat using the method above.
- Avoid Sogginess: To keep the pockets from becoming soggy during reheating, avoid covering them with foil or plastic wrap. If reheating in the microwave, use a paper towel to wrap them, which helps absorb excess moisture.
- Make-Ahead Option: If you’re planning to make these ahead of time, assemble the pockets and freeze them before baking. When you’re ready to serve, bake them directly from frozen, adding a few extra minutes to the cooking time as needed.

")


